Brown butter is called beurre noisette in French, which literally translates to “hazelnut butter”. It is said to get its French name from both the color the butter turns, and also for its nutty toasted aroma and flavor. Think caramel without the sweetness. It will wrap around you like a warm blanket.
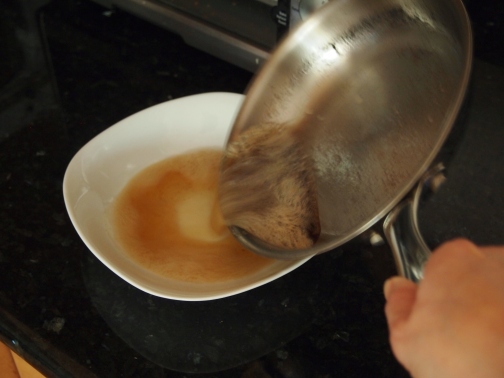
Brown butter is delicious with bananas, emulsified with vinegar or lemon on fish, or infused with sage on pasta. It lends an irresistible butterscotch flavor to cookies and other baked goods.
Deceptively simple, it has just one ingredient: unsalted butter. Safely and successfully making browned butter requires your attention, some basic setup, and a little finesse. But, once you get the hang of it, it’s a snap to make!
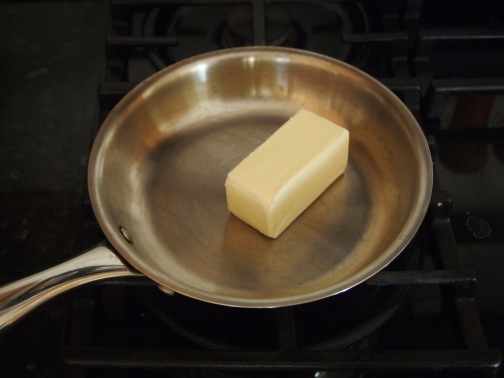
When browning butter, we start by allowing it to separate into 3 distinct components (in 3 distinct layers) — water, butterfat, and dairy solids.
As the butter is heated, foam rises to the surface as the water cooks off and the dairy solids separate from the fat and sink to the bottom. Keeping the solids suspended in the hot fat helps prevent them from burning and allows sugar and amino acids in the carbohydrates and proteins to combine, forming hundreds of new distinct flavor compounds (thanks to the Maillard reaction). These compounds are what gives brown butter its characteristically complex and alluring taste.
Are you salivating yet? Let’s get started…
You will need a small skillet (about 8-10 inches in diameter), a wide heatproof bowl, a spatula, and adequate lighting. It is important that the skillet is small enough for the melted butter to pool and that it does not have a dark surface (i.e. most nonstick pans) which makes it hard to gauge visually when the butter is sufficiently browned.
Place the shallow bowl next to the burner where you’ll be working.
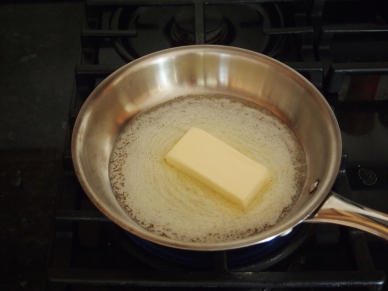
Add one stick of unsalted butter to the pan, and set it over medium heat until the butter is melted, about 3 minutes.
Meanwhile, you can go turn on some good music (hint: pick something you can swirl to). But, don’t dilly dally!
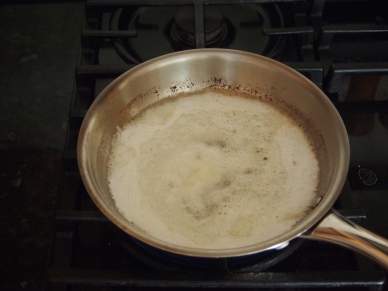
Once the butter is melted, start swirling the pan (move it in a small circular motion on the stovetop) constantly.
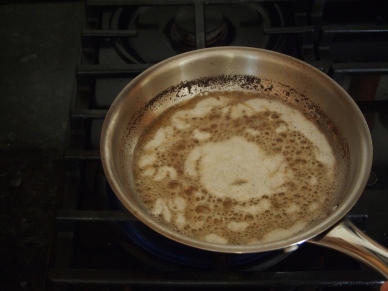
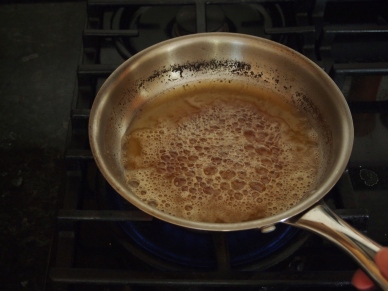
The butter will be foamy as the water content is cooked off, and there may be a little bit of hissing and popping (exciting!). Keep on swirling! The dairy solids will separate into little bits, sink toward the bottom of the pan, and begin to brown. Swirling allows them to stay suspended in the liquid, becoming more deeply colored and flavored without burning.
Alternatively, you can whisk the butter as it browns to keep the solids suspended. I prefer the swirl method because I find that it is relatively less work and easier to gauge the brownness of the bits because the liquid less agitated. I cribbed the swirl method from Charles, a former editor at Cook’s Illustrated.
The foam may still be present as the solids brown, depending on the butter you use, so keep an eye on the solids as you swirl. For the best flavor (more of those nummy flavor compounds), you’re going to have to flirt with danger. By this I mean danger of those bits getting burned. Keep swirling. You want the bits to get a deep assertive brown.
Don’t worry if some of the bits stick to the side of the skillet and get burnt as you swirl. If you don’t bother them, they shouldn’t bother you.
When the butter has a nutty aroma, a deep golden color, and the bits are very browned but not burnt, it’s time for action.
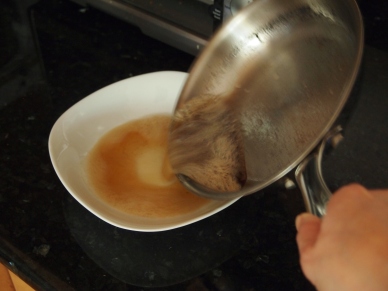
Remove the skillet from heat and immediately transfer the browned butter and bits to wide heatproof bowl. It will smell heavenly. Scrape the bottom of skillet with spatula to get every last bit. (If there are burnt bits on the side of the pan, leave them there)
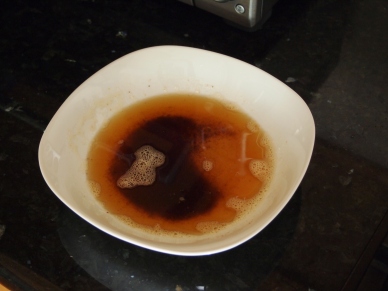
The browned butter will be very hot when it comes off the stove. Allow it to cool sufficiently before using it or sticking a finger in for a taste. Trust me, it’s HOT. Some like to strain them out for a more refined appearance, but I recommend that you leave in the delicious browned bits. They have so much flavor!
Once cooled completely, browned butter keeps well in the refrigerator or freezer. Reheat very gently to avoid burning the bits.
Related Posts:
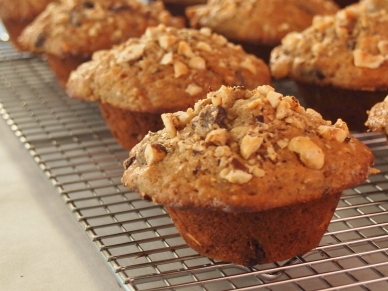
- Best Ever Banana Muffins with Brown Butter, Hazelnuts, and Dark Chocolate (revelkitchen.com)
© 2012 by Revel Kitchen. All Rights Reserved.

I never quite understand what brown butter is all about. After reading your step by step instructions, it looks like maybe I can try making brown butter for the first time, especially with your upcoming muffin recipe. Great photos
Hi Rich Light, Thank you! As I like to say, you just need a pan and a plan to do it successfully :). I can’t wait to share the muffin recipe with you. I think you’ll love it.
Have you ever strained it off and sprinkled those brown bits on a cooked piece of fish, maybe with some fried sage leaves and some roasted garlic? If you haven’t, I highly recommend it.
Hi Chris, I usually use both the butter and browned bits together, but I have no doubt that the bits would be absolutely delicious sprinkled on just about anything! I’ll have to try this combination, Thanks!